You are here
72. How can I automate the definition of OMR zones?
On a form with a lot of OMR zones it can take time to create all the zones by hand. Using EzeScan’s template definition tools, the zones can be drawn automatically by EzeScan.
Here’s how to do it:
- In the Define Template window select Group from the Object Type dropdown.
- Click on the Pencil icon (to create a new object) and highlight a group of OMR zones.
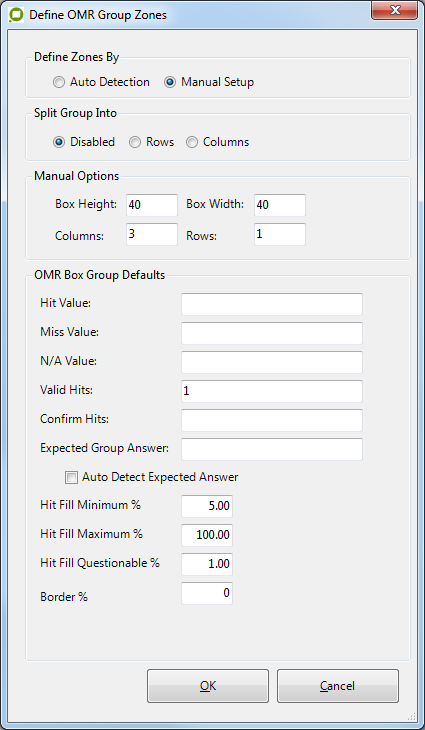
- When the area has been selected, a "Define Group Zone OMR Boxes" window will appear. This is where we specify our zone info.
- We have 2 rows and 5 columns of boxes.
- Our groups are going to be split by row.
- Our valid hits are going to be A,B,C,D,E.
- Our box height and width is going to be 80 x 80 pixels.
- When you’ve set up the zone information, click OK. The zones will be automatically drawn.
- The final step is to fill out the OMR defaults.
- Select Data from the Object Type dropdown.
- Click the "O" button.
- You can then specify options like the Questionable Fill, Border, Width, Height, Hit Fill Minimum, Hit Fill Maximum, Hit Value, Miss Value.

Hint: When selecting the zone area, try to make sure that the space outside zones is half the size of the space in between the zones. (This is so EzeScan can evenly work out where the OMR boxes reside).
In this example:

By default the OMR hit is 5% fill. To change the default for all OMR zones do the following: